Does anyone know what the following is for?
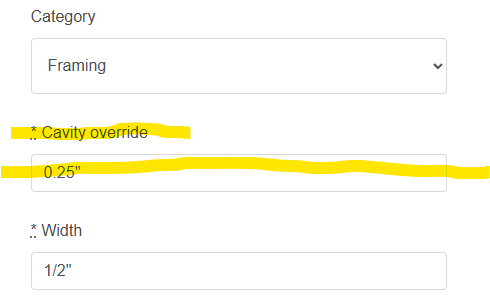
What’s the cavity override selection for? I have not been able to detect what this does either with or without a value.
Thanks,
Gareth.
Does anyone know what the following is for?
What’s the cavity override selection for? I have not been able to detect what this does either with or without a value.
Thanks,
Gareth.
Hi Gareth,
Thank you for bringing this to our attention. I will speak with the dev team & get it resolved.
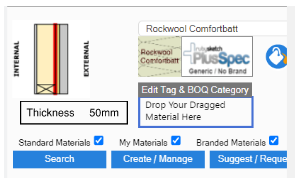
For now, if you enter the same value as the Width field the results will be as intended when using the material in the model.
No problem Grant,
But what is the intended result? I am not following what the function is for.
Gareth.
Hi Grant,
I also noticed that the material brand function is not working.
There is a green dash that appears to be selectable, but it doesn’t do anything, and the drop-down list cannot be altered
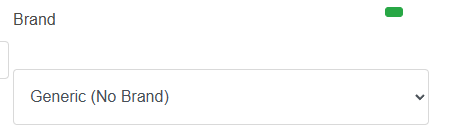
)
I have a few more observations/improvements/suggestions,
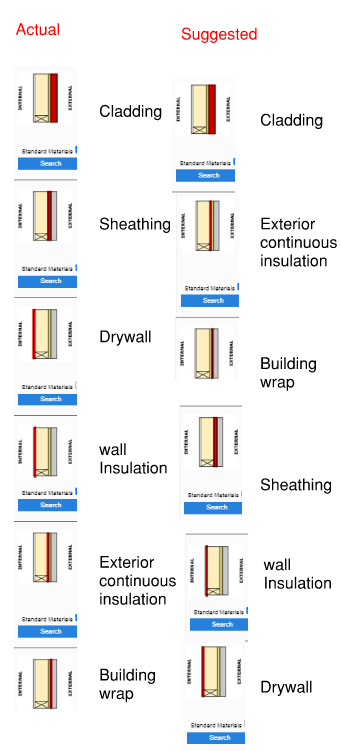
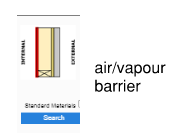
Can we have an “air/vapour barrier” selection behind drywall (in cold climates), instead of making a recipe?
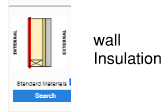
Is there a way to select the thickness of the continuous insulation? I have tried increasing the strapping to account for the missing insulation and also increasing the depth of the cladding. Still, both options are poor fixes when trying to detail with accuracy, as they also introduce errors into the BOQ, such as oversized strapping, etc. I am using insulation ranging from 25-150mm, and not being able to set the depth is a pain
Hi Gareth,
The field being visable was an issue that was missed but has now been rectified. When you create materials from now on it won’t appear.
The brand function should allow you to add your own brands, however for some reason it’s not working. Thank you for bringing this issue to our attention, I’ve passed it onto the dev team to fix.
Thank you for all the suggestions. I’ve responded to each of them below.
@Andrew do you have anything to add to this? I know a lot of passive house users wanted double battens as well, not just for estimating with a recipe but showing subs & woners why there is a price variation to comply with 7 star regulations etc.
Also adding a selection to put underslab insulation rather than making geometry and using custom estimation. This way it can represent underfloor heating and or just insulation requirements. The termite barrier selection I use for moisture membrane. And if you wanted to go all out what about adding crushed stone as a selection under the insulation ![]()
Hi Gareth,
Thank you for the suggestions, I’ve taken them back to the dev team for further discussion.
They all sound pretty reasonable to me. ![]()
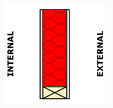
By default, we specify a 40mm cavity in Australia, as it is a minimum regulatory requirement, and a 2-inch cavity in the USA; however, when adding sheet bracing or cavity insulation, the cavity size must be larger to accommodate. This field enables you to override the cavity size