Hi there,
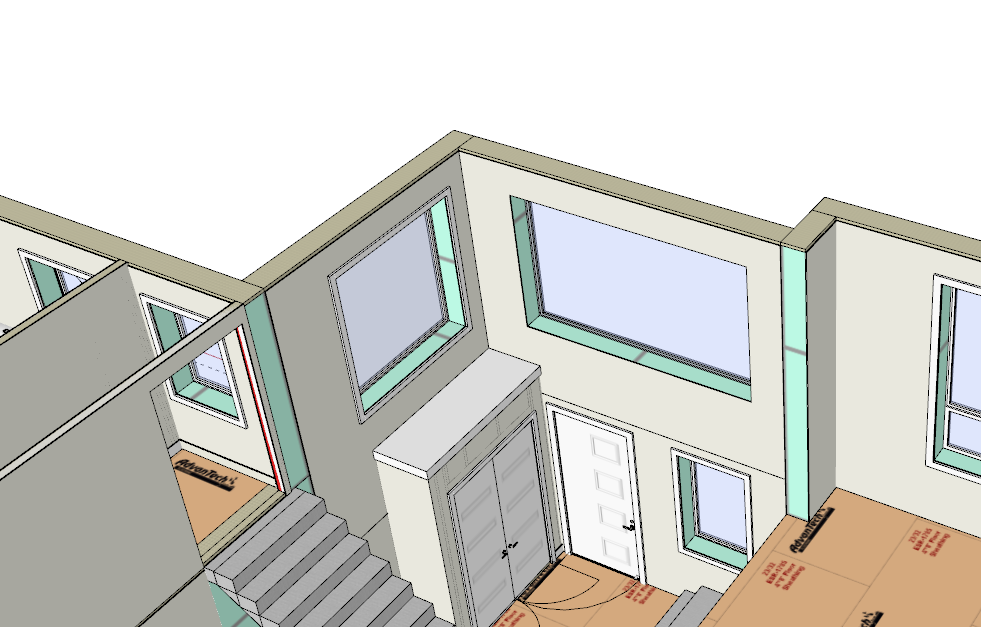
I’m designing a house that’s got a lot of split-height walls. So, I have a lot of “ends” that can’t be joined/mitred to other walls. How can I get drywall or exterior cladding onto them? They’re solid walls (I’m building with ICF). So what’s happening is on the inside of the walls, there’s the ICF colour I’ve chosen peeking through.
Secondly, there aren’t any window boxes that seem to be an option. Can you let me know how I might make them?
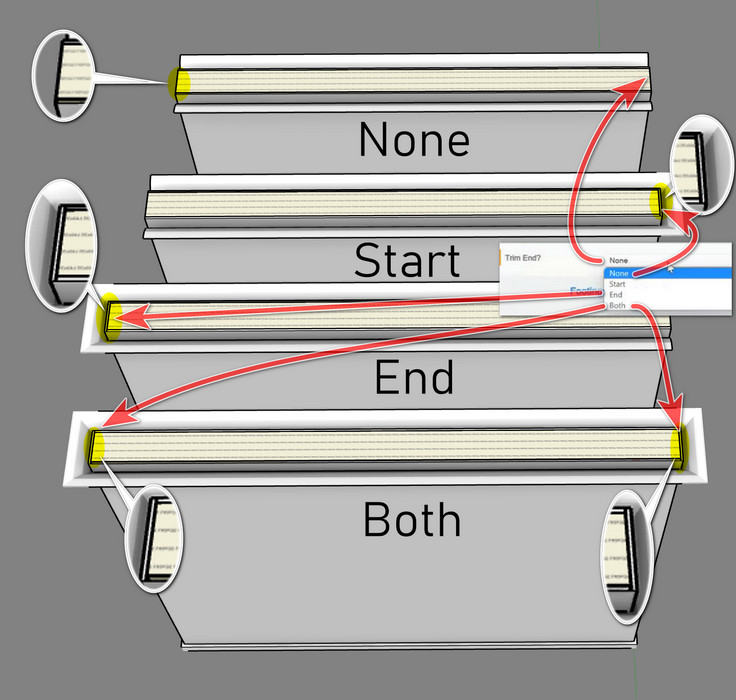
There’s a function inside the wall tool, i think it’s called end of wall. It’ll add lining skirting and cornice to the end or start of a wall. I think it’s in the trim section but I’ll have to check when i get back to the office.
That’s for the Trim component, not the actual drywall. I think for the “end of wall” question, the wall surface tool is the right tool to use as the dividers of the different wall layers would result in lines throughout the model, as well as leave exposed joist end spaces and whatnot.
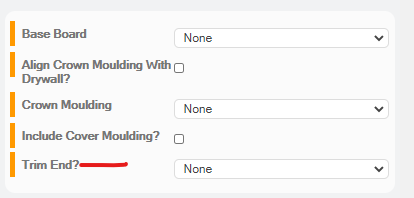
This is the Trim part I think you were talking about. That has come in handy on a few walls that aren’t “weird composites” like many of the others in the project.
Trim End has different functionalities depending on the wall type chosen.
If you choose. An “Internal only wall” with Drywall on the internal and external sides of the wall, the drywall will return around the chosen (none, start end or both)
Dubcanuck, why didn’t you draw your walls in a loop (in your image above)? This would have automatically added the drywall to the ends of the walls. When you ar doing split levels, I would still draw in a loop, move the wall to the correct floor level and adjust the wall height if you have a level ceiling.
I can see you have drawn a taller wall to cover the stairs, yet increasing the ground floor wall height will ensure all of your top-storey walls are the same height and in a loop (also lighter for the framing carpenter over a void).
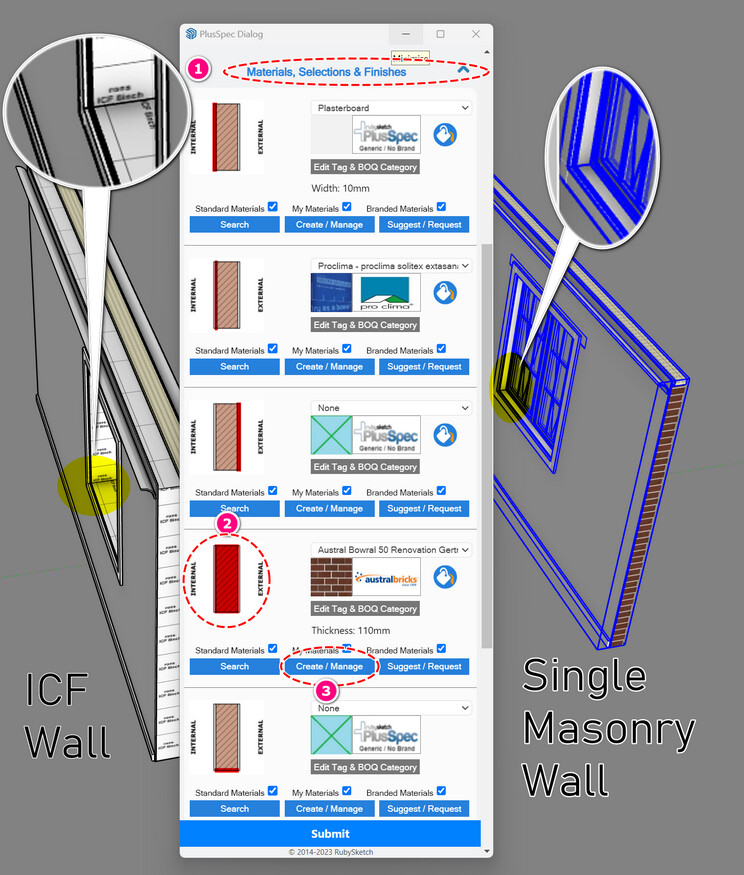
With the window boxes, I assume you used the “Solid wall” type?
Did you use the solid wall type to quantify the IFC in cubic measure for concrete?
Can I suggest you use the “Single masonry” wall type and create your ICF material as a brick type? This would add the window boxing
For those designing and building with timber wood (USA) frame construction generally, you would have floor joists between the frames and in this case, this is the following GIF shows the best way to do it in all versions of PlusSpec for Sketchup