Hello, may I know on how to make this window architrave attach on the wall? thanks
Hi MMontesclaros,
I’m not able to replicate the issue. Are you using the latest version of the software (v24.4)?
If you are, would you be able to please send the model across to info@rubysketch.com so we can look into it further? Thanks.
Hello Grant,
Yes, I’m currently using the v.24.4. Please take a look, I am now sending model. Thank you
Hi MMontesclaros,
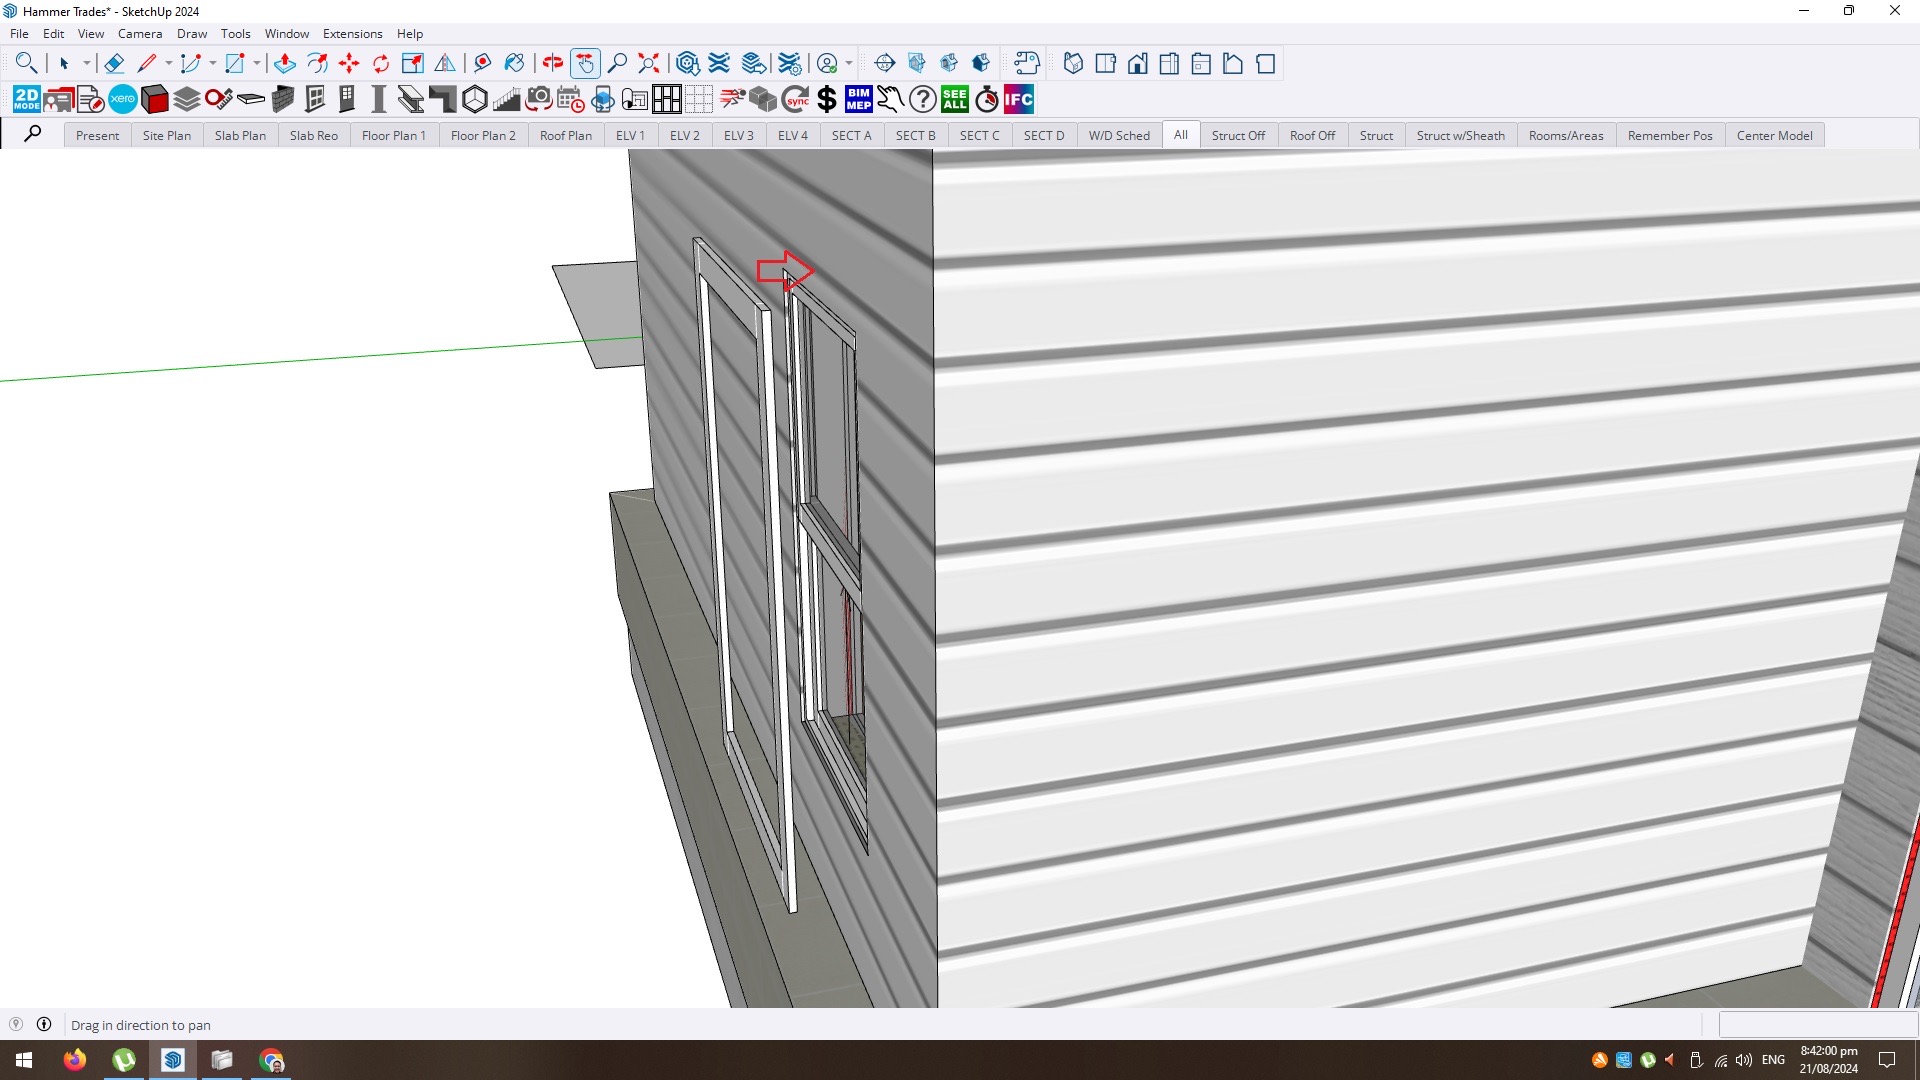
I’ve had a look over the model & the reason for this is that the architrave is adjusting to the outermost point of the wall & since you were using the ‘Wainscot (Split)’ wall type it’s adjusting to the outside of the brickwork. I’ll take this back to the development team for further discussion.
To resolve the issue for now, I would recommend doing the following.
- Select all the wainscot walls & edit them.
- Change the wall type to the ‘Lightweight Framed with Cladding’ wall type.
- Select the materials needed (specify battens/cavity size as well). Note: I would also include the footing with the wall (you may need to adjust the offset values).
- Go to the ‘Cladding/Lining Overrides’ section & enter a negative value (i.e. -500mm) in the ‘External Clad Step Down’ field. This will raise the bottom of the cladding skin the height of the brickwork.
- Submit the changes.
- Draw the brickwork in using the ‘Single Masonry’ wall type. Make sure the correct height & desired materials are used. Tip: If all the above was done correctly you should be able to trace the outside of the footing.