hi can somebody give me some help drawing struts underpurlins Hangers and collar ties
Hi user25,
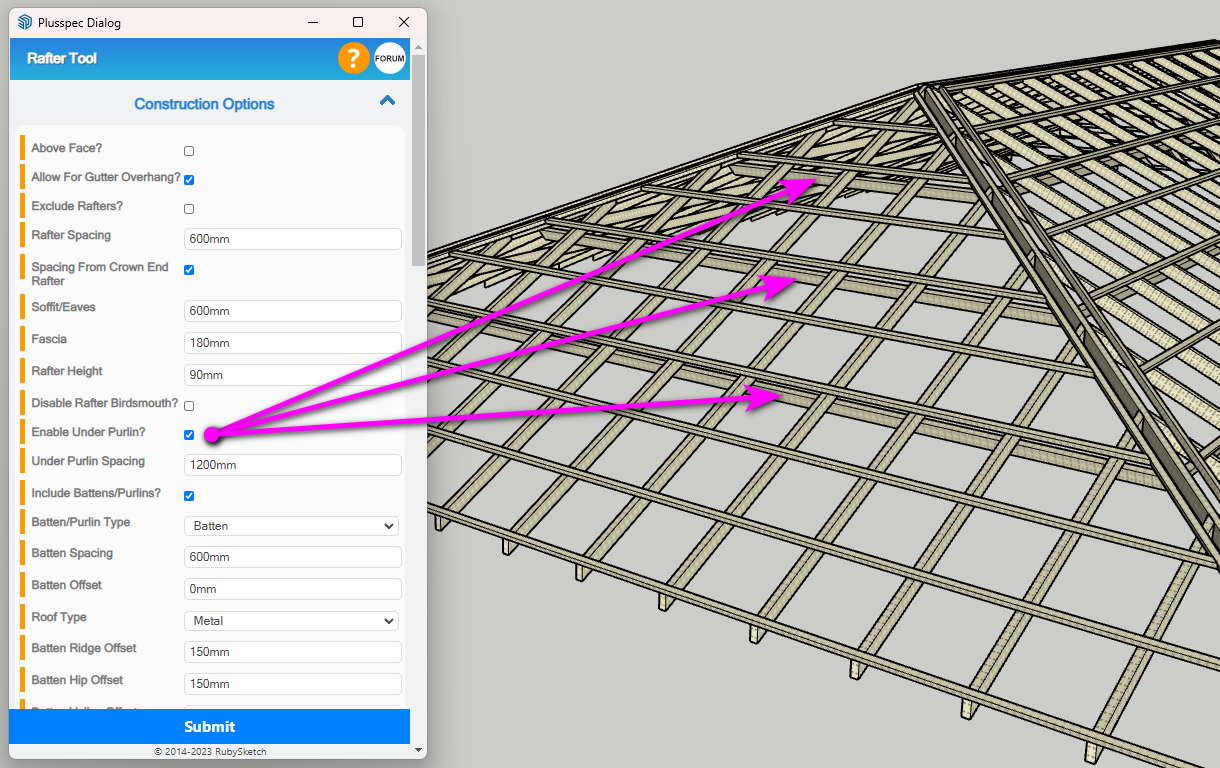
Under purlins can be draw from the ![]() Rafter Tool by ticking the Enable Under Purlin field when creating roof framing. You can also draw in additional roofing members using the options within the Alternatives section at the bottom of the dialog.
Rafter Tool by ticking the Enable Under Purlin field when creating roof framing. You can also draw in additional roofing members using the options within the Alternatives section at the bottom of the dialog.
To draw hangers, open the ![]() Component Tool then go to the Ancillaries section (#1 in image below) & there should be some hanger components for you to choose from (#2 in image below). If the hangers you want aren’t there then I would recommend either drawing them manually or getting them from the SketchUp 3D Warehouse. Note: Use the
Component Tool then go to the Ancillaries section (#1 in image below) & there should be some hanger components for you to choose from (#2 in image below). If the hangers you want aren’t there then I would recommend either drawing them manually or getting them from the SketchUp 3D Warehouse. Note: Use the ![]() BIM Tool to add the estimation info to any component not found in the software (i.e. manually created or imported into SketchUp).
BIM Tool to add the estimation info to any component not found in the software (i.e. manually created or imported into SketchUp).

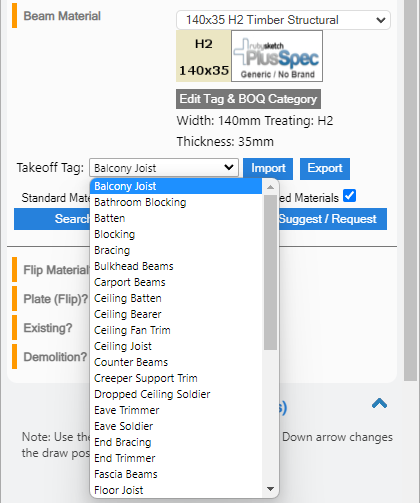
To create collar ties I would recommend using the ![]() Beam Tool to create these members & then draw them in the correct positions. Tip: To make sure the members are labelled as collar ties select the correct option from the Takeoff Tag dropdown (shown in image below). The options in this list can be edited via the Import & Export buttons.
Beam Tool to create these members & then draw them in the correct positions. Tip: To make sure the members are labelled as collar ties select the correct option from the Takeoff Tag dropdown (shown in image below). The options in this list can be edited via the Import & Export buttons.
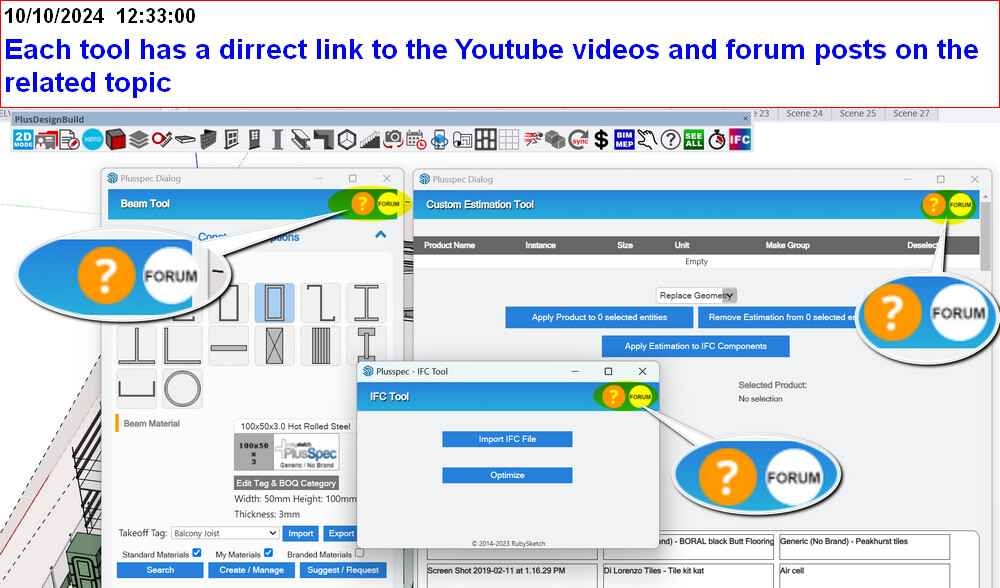
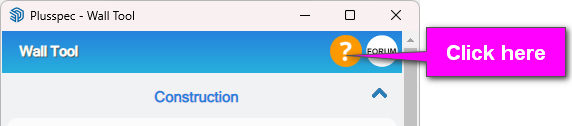
If you need any further assistance on how to use specific tools or features, click on the orange ? icon located in the top right corner of every dialog (shown in image below). This will take you to curated tutorial playlists for that specific tool/feature.
I assume you mean hanging beams, not joist hangers?
I use the beam tool to draw scissor struts, struts and blocks. You can also use it for individual items.
The ceiling joist tool enables you to draw all (ceiling joists and ceiling hangers) at a spacing, e.g. ceiling joists at centres of 600 and hanging beams at centres according to the maximum span of ceiling joists.
If you mean joist hangers/brackets, they’re inside the floor joist tool; just type in the section size and the spacing.
@Andrew
Yes, using the beam tool is the best way; you may want to create guidelines using the Sketchup Tape measure tool in your first one to make it easier (if you are learning). My tip, if you do conventional roofing regularly, is to create multiple collar ties & struts for multiple pitches and save them as a vignette. this way, you can us them on every job very quickly

Thanks Andrew
is there a quicker way of drawing eave trim and soldiers? (rather than in the beam command
Yes, turn the roof and sarking Tags off. Triple-click the eave and use the ceiling joist tool. You can do all of your trimmers in 1 minute. I made this video just now

if i draw as floor joist how do i change them to read eave trim?
I would create a material called eave trimmers 70x35. The key is to choose your typical trimmer size grom the joist drop down or ceiling joist dropdown Eg 70x35 and click create material.Then change the name. I would change the category in which it reads in the BOQ. It’s just under the material field.
thank you i will try
my hardest thing to acheive is where to change things like the list that transfers to the bill of qauantities
right now i need to know how to get the cut and order summary per wall onto layout pages
Click advanced framing to organise your boq into member lists. If you want to change the name of members it is in the settings tool. Eg noggings to dwangs or nogs to blocks.
That’s the framing layout tool. Click this icon ![]() in the main PlusDesignBuild toolbar. Tip save your model as framing layout before you do so.
in the main PlusDesignBuild toolbar. Tip save your model as framing layout before you do so.
Les it’s best to start a new post for each question so others can follow along.